Introduction
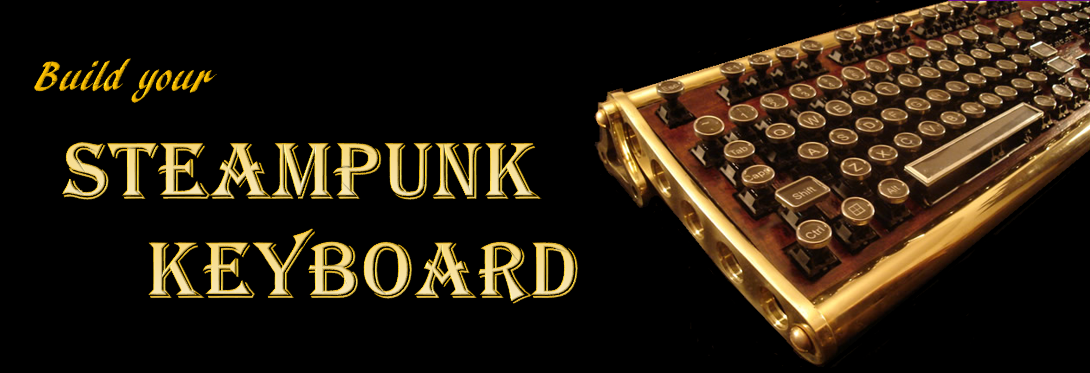
Some of you will know the television series called Warehouse 13. Do you remember when “Artie” Arthur Nielsen researched for artifacts lost in the world typing on a particular keyboard? Well, that keyboard was built with a Steampunk style. Many items made in this style caught the attention of many DIY (do it yourself) experts who have tried to reproduce them using material that were easily available. The Steampunk keyboard that we talked about, is one of the most eye-catching items that have been built and it is the object of discussion in this article.


The SteamPunk style
The Steampunk style was originated by the reconstruction of anachronistic technological objects described often in fantastic fiction set in the nineteenth century, in particular with a style that often brings to mind the Victorian London. Just think of the various books of Verne, HG Wells and Conan Doyle in which numerous weapons or instruments are described in an overly mechanical way, sometimes actuated with steam, trimmed with brass or iron.
The attempt of reconstruction of these objects, which are often used in movies (Sherlock Holmes, Wild Wild West, The League of Extraordinary Gentlemen, Hell Boy), has created a unique style called SteamPunk. And there’s more, this style has quickly spread also in artistical representations, in clothing and furnishings.


The SteamPunk keyboards
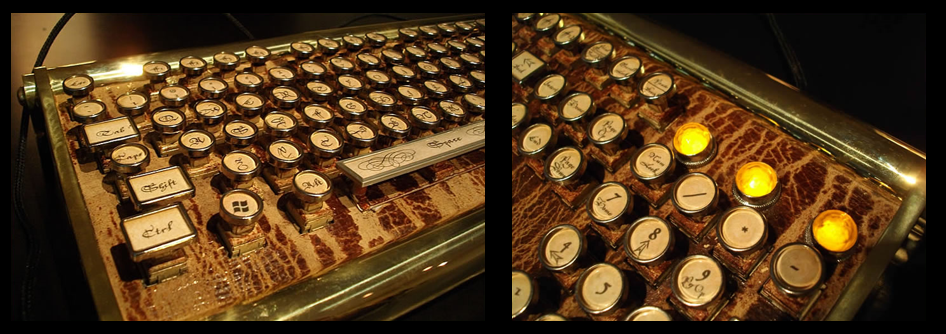
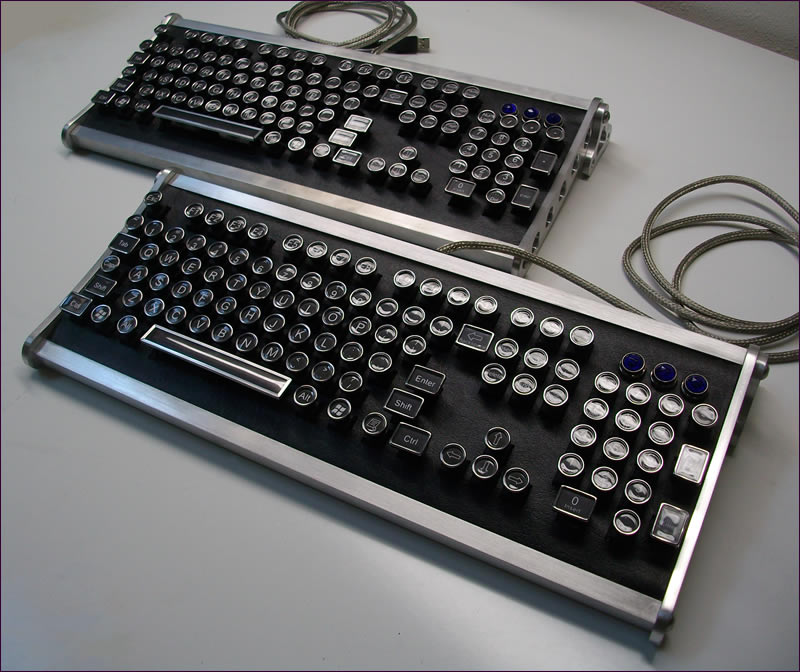
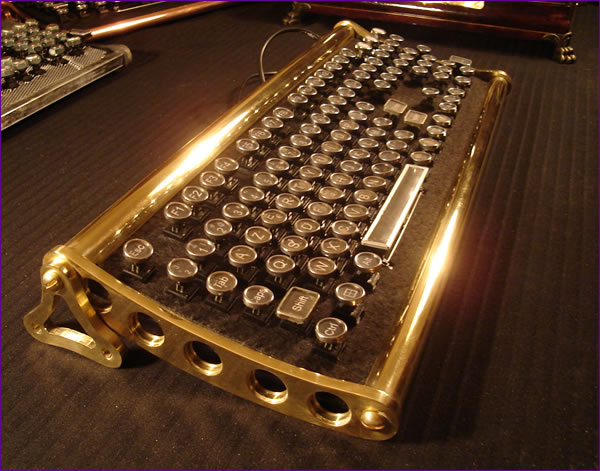
In a commercial site called Datamancer is possible to see a whole series of steampunk keyboards realized in recent years and they are commercially available. But you can buy these keyboards on many other commercial sites like Amazon.
Build the Von Slatt SteamPunk keyboard
This object bears the name of its creator, the gadgeteer Jake Von Slatt (a great video on YouTube describing his study is available here).In this article you will see how to make it on your own by following the instructions left by the same Jake Von Slatt in an article available online.

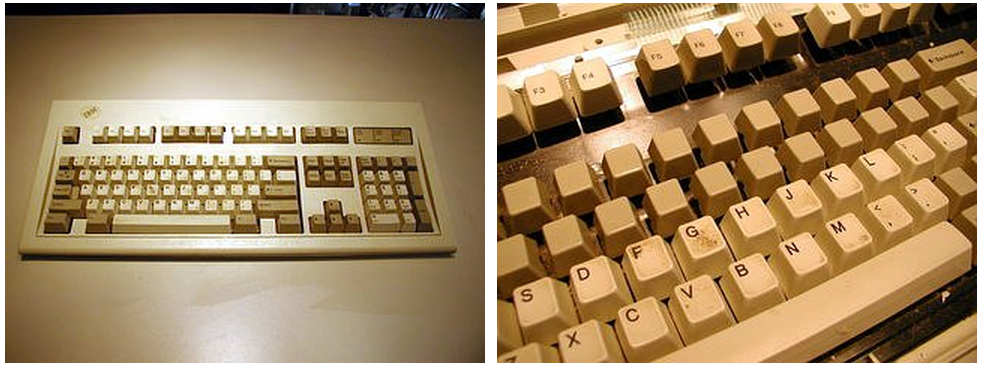
My goal with this project was to build a retro keyboard that was fully functional and of a sufficient quality that it could be used everyday by a touch typist. In order to achieve this I chose a high quality (though widely available) keyboard as my starting point. This is an IBM Model M “Clicky” keyboard. They were made starting in the mid 1980’s and a version is still manufactured today. This particular keyboard was made in 1989 and shipped with and IBM PowerStation 530, a UNIX box the size of a kegerator.
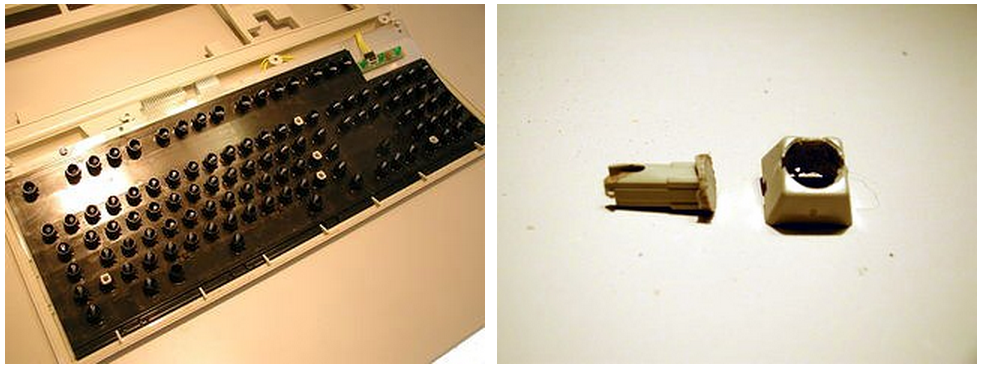
Step one was disassembly and the removal of the skirts on the key caps. The skirt removal was kind of tricky, I originally planned to use a circle punch, but that nearly destroyed the first key I tried it on. After some experimentation I came up with a method using a heated, sharpened piece of steel tubing and a drill press.
Here is a short movie demonstration the process of removing the skirts from the key caps.
[vsw id=”UtSSfjNl5qw” source=”youtube” width=”425″ height=”344″ autoplay=”no”]
In the second half of this video I show a different and I believe superior method for making the keys. Kudos go out to Doc Datamancer for coming up with it!
[vsw id=”Z6opt7xNXrI” source=”youtube” width=”425″ height=”344″ autoplay=”no”]
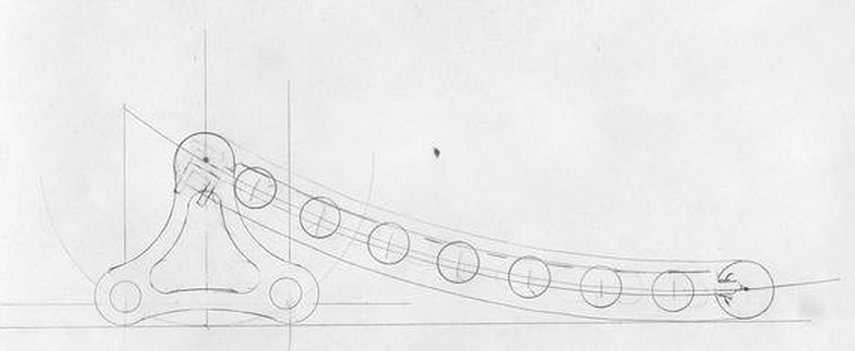
After I removed all of the key cap skirts and cleaned the excess plastic off of the key bottoms, I reassembled them into the keyboard. At this point I started to design the Steampunk cradle that I planned to make from 1/4″ thick brass plate.
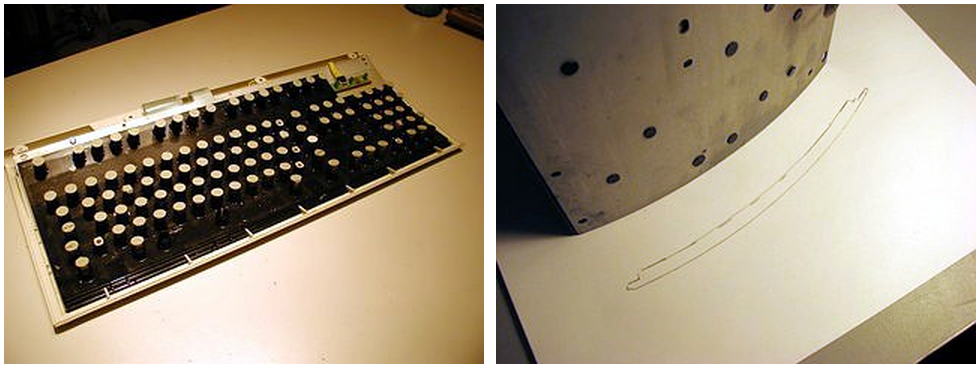
I wanted a simple and clean design, the finished keyboard actually takes up less desktop real estate then the original Model M.
Next came the process of cutting and shaping the brass. Be very careful cutting brass on a table saw, if the work piece binds it can be thrown back at you with a great deal of force. Stand well to one side when doing this. Note: the blade guard has been removed for the same reason that Norm removes the blade guard of his saw in the New Yankee Workshop, that is to allow the camera a good angle. I’m sure that Norm puts them right back on after filming.
The shapes were then cut out on a band saw.

The interior cut outs on the feet were drilled and cut with a coping saw. Brass cuts very easily, the entire project could probably be done with just a coping saw. A series of files were used to smooth the contours.
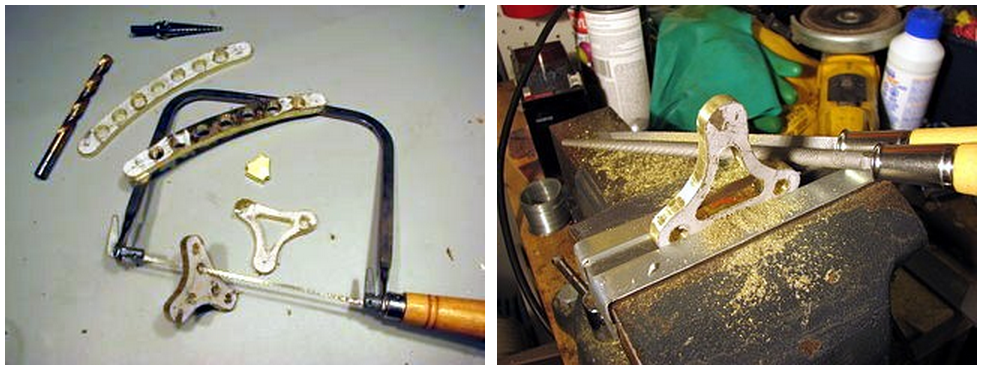
I drilled 3/16″ pilot holes on the drill press and then enlarged them with this step drill. The step drill left a shoulder about half way through the hole because it’s step are 1/8″ and the piece is 1/4″ thick. I think the steps add a visual appeal so I did not drill from the other side to remove them.

The pieces were then cleaned up with several grades of sandpaper, steel wool ,and a rotating fiberglass brush in the drill press. Holes were drilled and tapped to attach the legs.

Two lengths of brass “C” channel were cut on the table saw and threaded rod was used to fixture the cradle for soldering.

The completed cradle. The next step was the preparation of the old typewriter keys I planned to attach to the key bottoms. I have an old Royal typewriter that I had planned to cut the keys off of but I made the mistake of showing it to my daughter who instantly fell in love with it. So these keys were ordered from eBay. There are plenty of people offering these since they are popular among crafters. Depending on shipping cost it is sometimes cheaper to by a whole typewriter and cut the keys off yourself.

The cheaper typewriters keys on eBay are usually removed quickly with a bolt cutter or angle grinder with a cutting disk, I needed to cut these flush before I could use them. Heres a movie that shows my method for flush cutting the backs of typewriter keys.
[vsw id=”D0jsdEQUSOs” source=”youtube” width=”425″ height=”344″ autoplay=”no”]
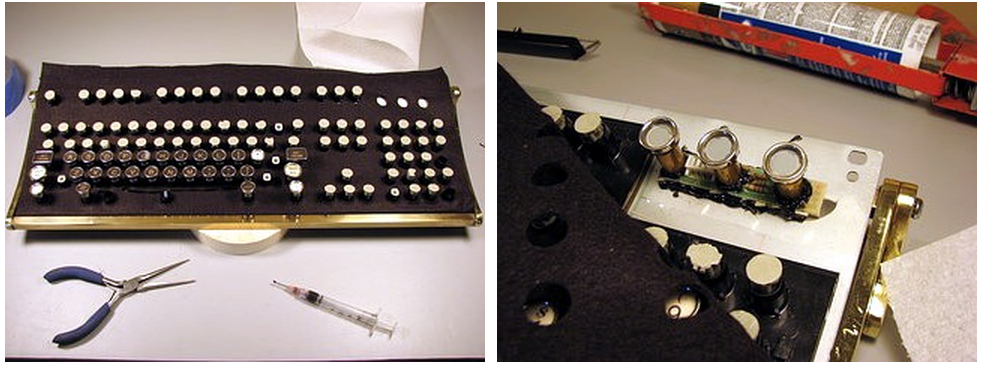
After they were all flush cut I laid out the keys to see what I had. I also cut a piece of felt to cover the exposed plastic of the keyboard bed. I put the entire keyboard on a copier and made an image that I then used as a template for punching holes in the felt with a sharpened piece of steel tubing.

Heres the completed felt in place. Save the “holes” you’ll need a few later.
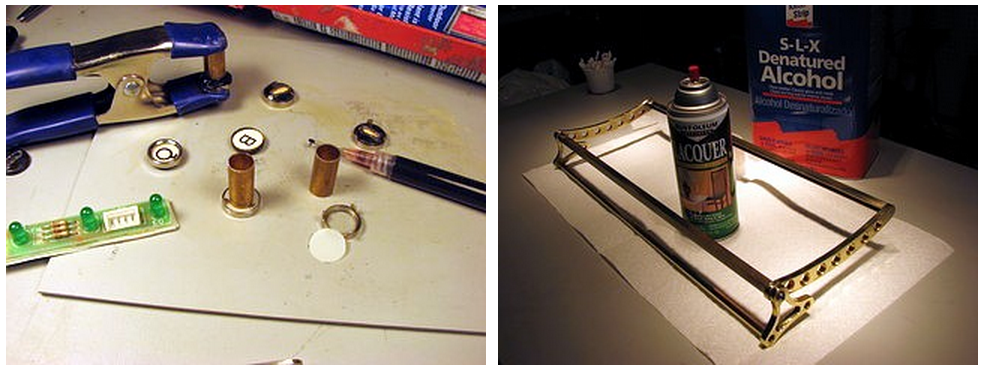
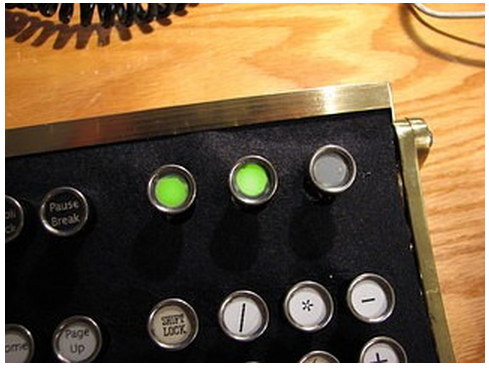
For the keyboard status lights I remove the cardboard letters from three of the keys and replaced them with translucent acetate. These were glued to short brass tubes which were in turn glued over the LEDs.
The whole frame was wiped down with denatured alcohol and sprayed with a coat of clear lacquer.
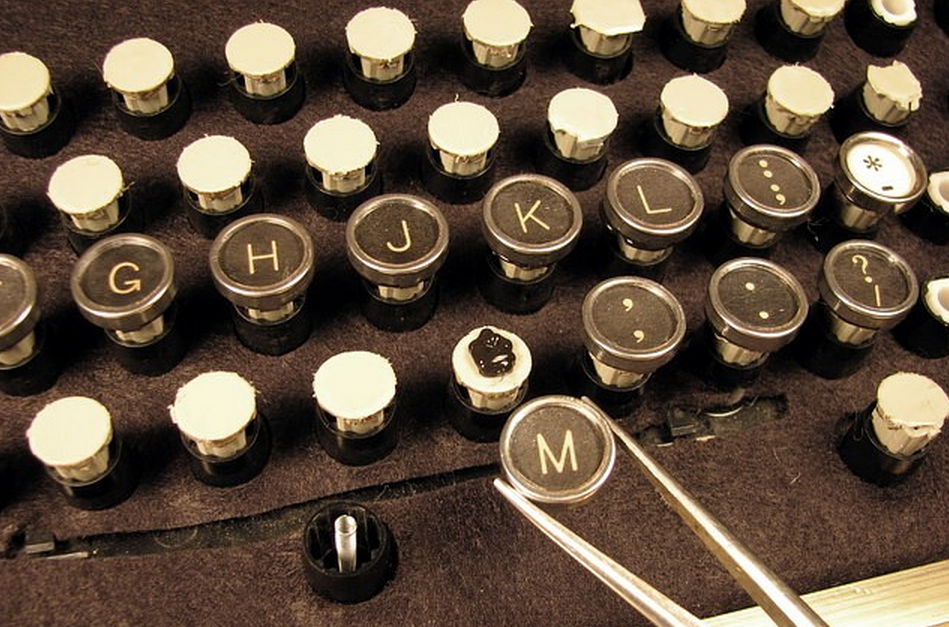
Ready to start the tedious job of positioning and gluing the new keys on

I cleaned the backs of the keys and the tops of the key bottoms with alcohol and affixed them with G.E. Silicon II Window and Door Sealant. Each key was carefully lined up by eye, the silicon sealant gives you and open time of about 10 minutes before it starts to skim over.
I also glued down the status lights at this time.
I wanted the enhanced keys to have proper labels on them so I disassembled several of the keys and printed labels on glossy photo paper. These I punched out of the sheet of paper with the same punch I used for the felt.

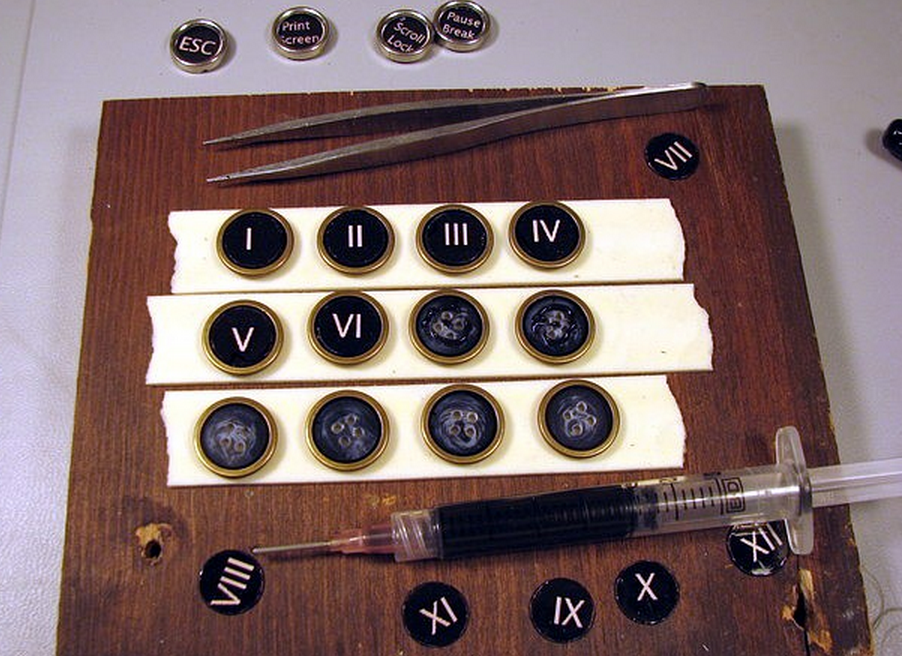
Two old typewriters did not supply quite enough keys for the entire project, so I ran down to Joanne Fabrics and found these brass rimmed buttons.

The backs were rounded so I attached them to a piece of wood with double-sticky tape and sanded them flat.

I printed out some more labels on glossy photo paper, punched them out, blackened the edges with a Sharpie and gave them a coat of clear lacquer. They were then glued to the tops of the buttons with the silicon sealant.

I covered the front and back of the keyboard with gaffer’s tape to deaden the sound and give the keyboard a solid feel.
Remember I said to save the felt “holes” ? here is where you’ll want to use them to cover the blank posts for the formerly wide keys.
I painted the keyboard cord with Krylon Fusion gloss black paint to cover the hideous beige.

And just to show that I’ve met my design goal, the Lady von Slatt touch types: