

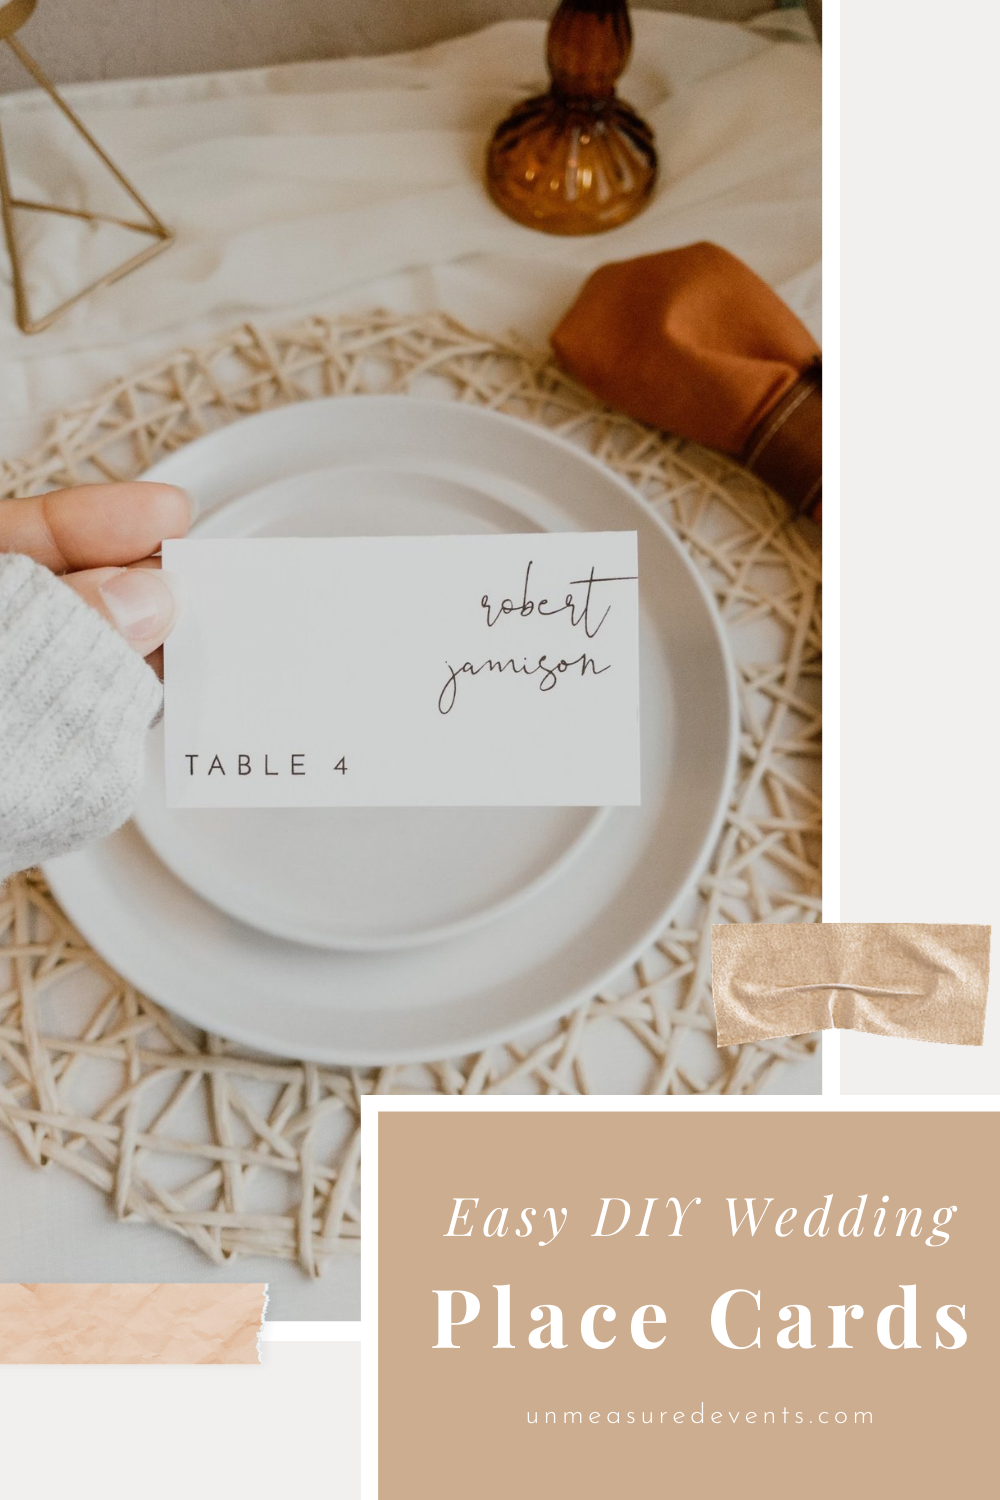
Easy DIY Wedding Place Cards
This post contains affiliate links. For more information, review my disclosure policy here.
Organizing your wedding guest list into the perfect table combinations can be a real headache. While we cannot tell you if Aunt Ingrid should sit next to your college bestie, we can help you create the place cards which sit them in the proper seat.
When you're thinking of organizing 100+ guests and printing out individual name cards for each place, you may be seeing dollar signs in the back of your mind. Take a breather because we have just the thing for you. DIY place cards are the obvious answer and don't worry, you don't have to be tech savvy to handle these. Yes, we get asked that all the time!
Get your Materials:
A Template:
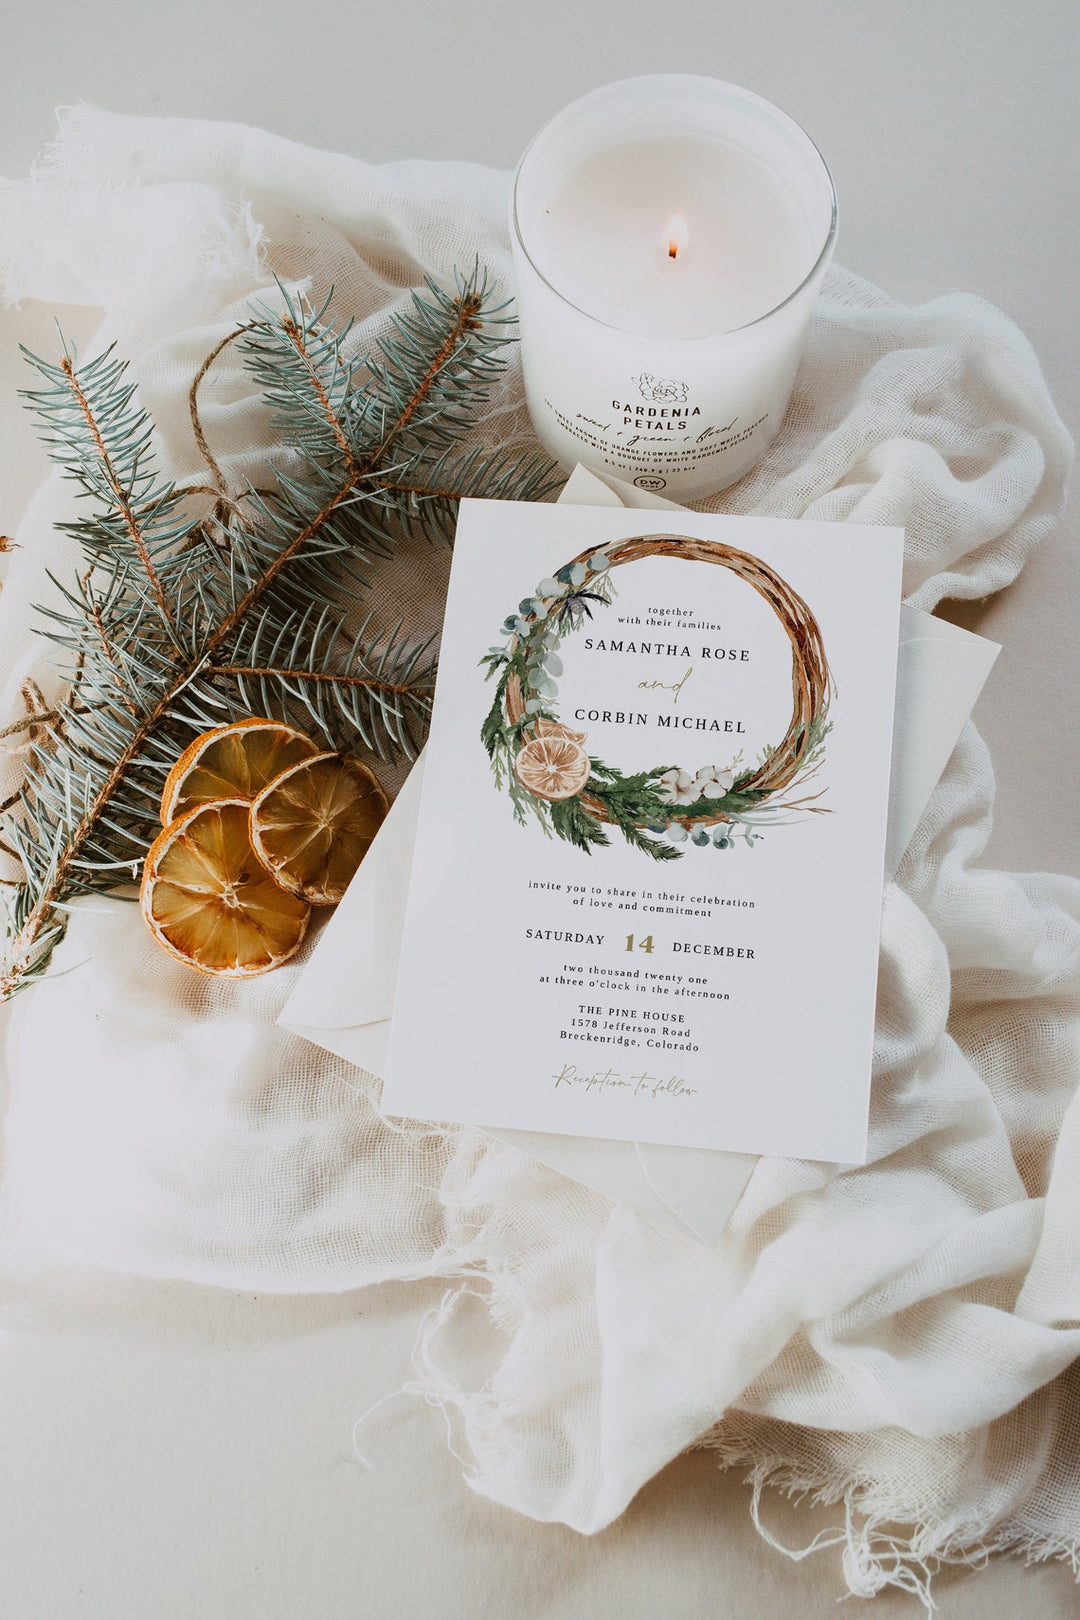
We admit, this is the fun part! We have literally thousands of template at Unmeasured Events. So if you're thinking we may not have your style, think again. We carry templates in modern minimalist, art deco, bohemian, and glam styles so you're sure to find what you need. Plus, they're totally editable so if you're not sure about a font color - that's cool, change it up, we won't get mad.
We even provide a free demo link in each product description which will allow you to try a template before purchase. That way you can see exactly what you'll be getting yourself into when you go the DIY route.
Here are a few of our favorite place cards:

ADELLA Place Card | BLAIR Place Card | SONNY Place Card | MIA Mini Place Card
A Printer
My favorite home printer by far is the Canon Pixma Pro. However, this is now considered an older printer and it isn't sold anywhere for me to recommend you! The next best option would be the Canon PIXMA MegaTank G3259.
This is technically a photo printer which, consequently is why I love it so much. This printer will cost you about $330 but given that you can print literally all of your wedding stationery with it, the pricing works in your favor!
I've used mine for everything - invitations, place cards, menus, stickers, and smaller posters believe it or not! But whatever color printer you have at your house right now will absolutely do the trick!
Card Stock Paper
For place cards, I would recommend card stock that is around 80 lb thickness. You don't want to go too heavy here because the crease will crack. Going to light would make a flimsy mess that won't stand up on your table if you choose to do tented place cards. I prefer a white card stock so I can print whatever I need on it.
The card stock weight will vary depending on what project you're doing so for invitations, I typically select a 120 lb weight for place cards and folded programs, a bit thinner. For this project, buy a big pack of this 80 lb card stock and you can still get away with using it for menus, favor tags, framed signage, programs and more.
A Paper Trimmer
Smaller trimmers work fine but I prefer something a bit meatier. Something that's big enough to trim at least an 8x10" sign and provides enough strength to trim multiple sheets at once if need be.
You don't actually need anything fancy for this, just a trimmer for $40 or less will do the trick. Remember, you can use this for a lot more than just your place cards so if you're planning on doing multiple DIY projects, this Swingline paper cutter will be a life saver.
Okay, so now that you have all the tools you need, let's get started!
This is the step where we always get asked, "I'm not tech savvy, is this template for me?" Oh for sure! Literally, these are the easiest templates.
If that's not simple, I don't know what is! Add extra pages when you need to and that pretty much sums it up. Don't believe me? Try any template here before purchase to make sure it's a perfect fit. 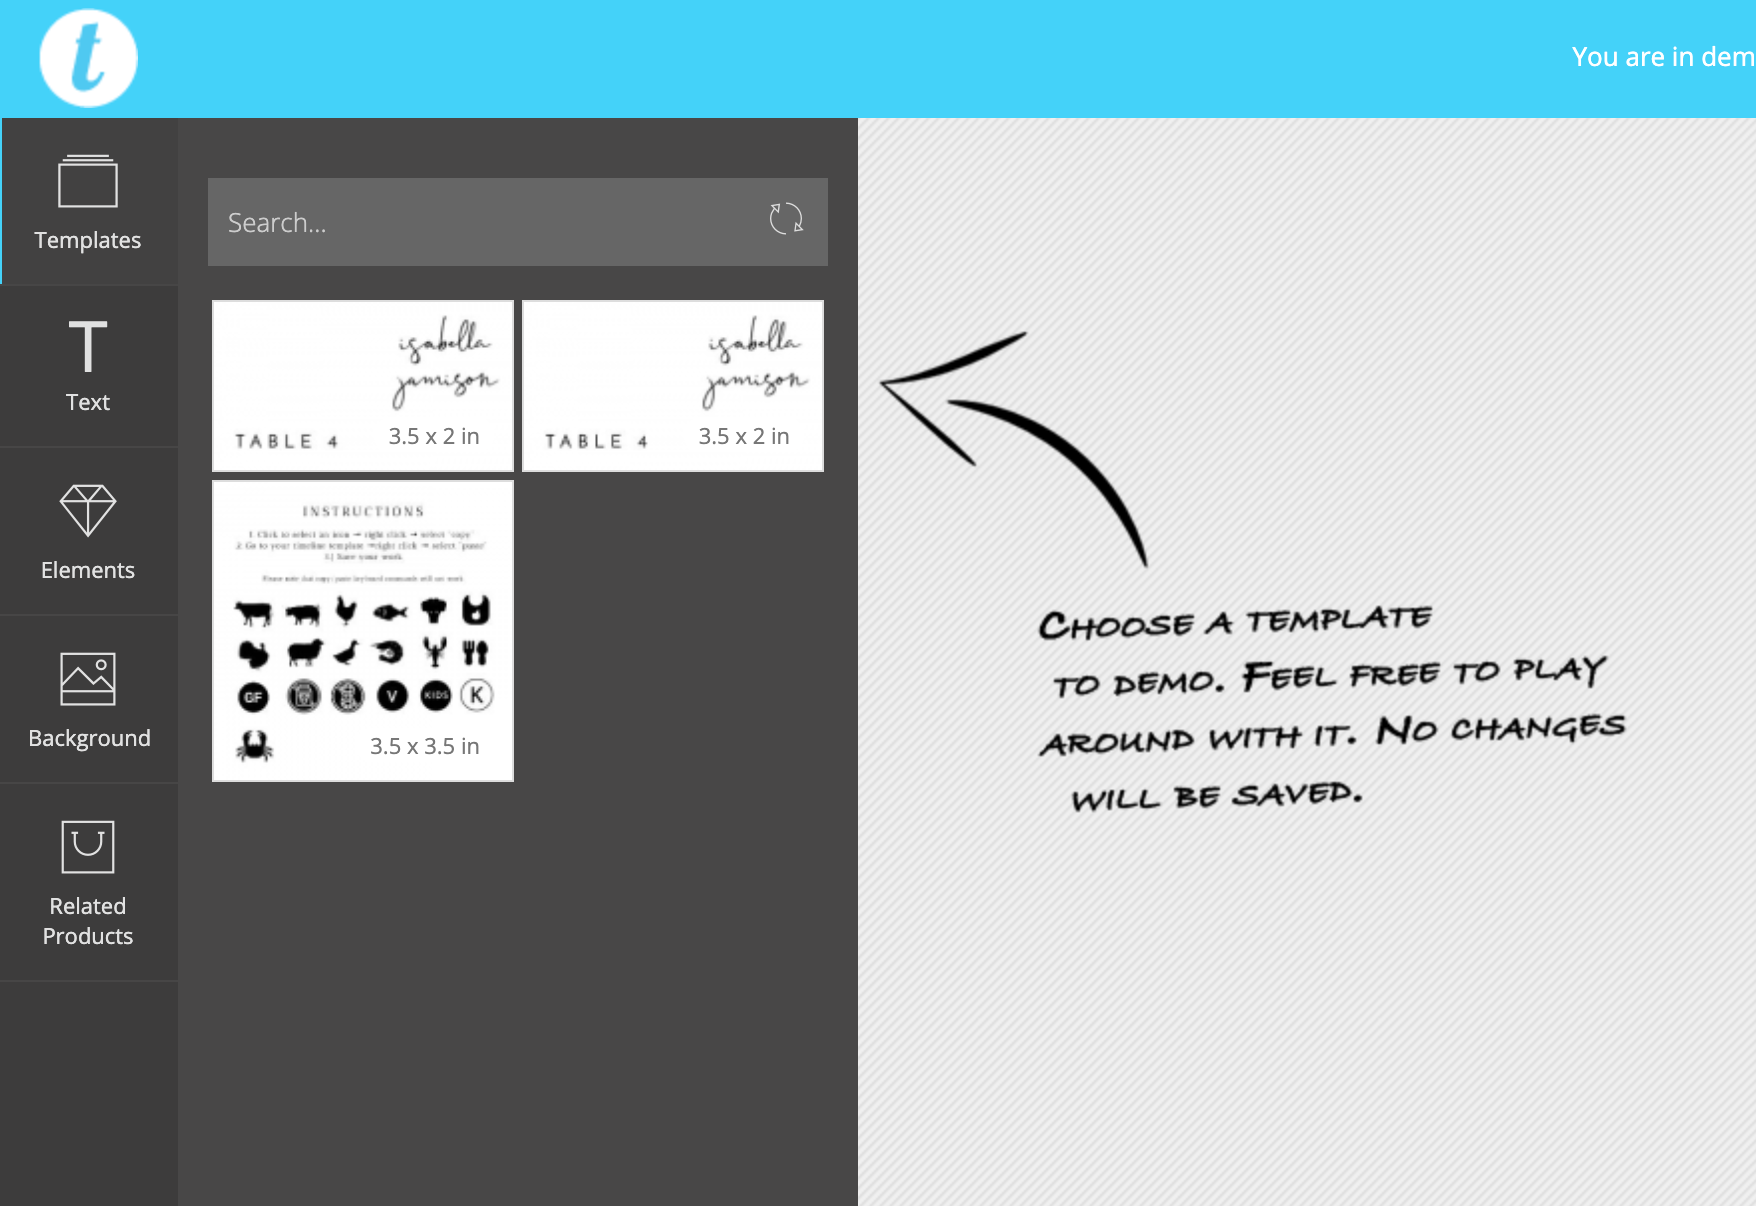
TRY A DEMO FOR FREE
PROFESSIONAL PRINTING:
Yes yes, this is a DIY project. But for the folks that are in search of a 50% DIY, project, a template + professional printer is the route for you.
• Prints of Love: We looooove Prints of Love! First of all, they're so quick and easy. They print quickly and then provide free 2-3 day shipping. They also plant a tree with every order. That's a win-win in our book. When you're done editing your place cards, simply download as a PDF with the 'bleed' option selected and upload to their site. Uh, so simple!
• Local Shop (Staples/Office Depot, etc): While we adore Prints of Love, we understand that they don't always fit into everyone's timeline or budget. For that reason, these templates can also be printed locally. Just download as a PDF with the 'save paper' 'show trim marks' and 'show bleed' options selected. Take them the file on a flash drive and ask them to print on card stock and trim on the lines. You'll then just worry about folding your cards.
HOME PRINTING:
Okay, DIY 100%. Here you go: personalize your file and then download as a PDF with the 'save paper', 'show trim marks', and 'show bleed' marks options selected.
Print on your card stock paper and trim on the lines. Fold the cards in half and you're all set! Here's a helpful video to show you how things are done:
@unmeasuredevents #learnhow to create easy #DIYwedding place cards. They’re so easy! #weddingtiktok #weddingstationery #weddingplanning #budgetbride ♬ Up Beat (Married Life) - Kenyi
Helpful tip: If you want to print quickly without having to follow trim lines, download your file as a PDF with no options selected. Pre trim your cards to 3.5" wide and 4" tall. Then print all of your cards consecutively. If you are printing the tented cards, just print 1 per page. If you are printing flat cards, select your printer option to print 2 per page. Please remember to change the paper size in your printer settings to match your card size! Very important step.
* This process works the best with an edge to edge photo printer. If you don't have one of these, get yourself one here or just know that you will have a blank white margin around the edges of the card.
That's it folks! DIY place cards the easy (and much less expensive way) Just in case you were wondering about pricing, next on my list is to create a complete pricing breakdown to show you the difference between DIY wedding and using a full service option like Minted or a local calligrapher.

Leave a comment