Easy Cubism Portrait Drawings
And because cubism is abstract, you really can’t mess them up. In this art tutorial I’m going to show you a couple of different approaches to drawing a cubism portrait. They are both really easy to draw, but each will give a different look to your finished drawing.
So let’s grab some art supplies and get ready to have some fun.
* Some of the links in this post may be affiliate links. This means I receive small commissions for purchases made through these links at no extra cost to you.
Art Supplies
- Thin black marker
- Paper or cardstock
- Markers
- Pencil
- Click Eraser, Pink Pearl Eraser
- White Gelly Roll pen
FREE Guide to Better Art in 7 Days
Cubism Portraits – Step by Step
Style 1 – Mixed Viewpoint
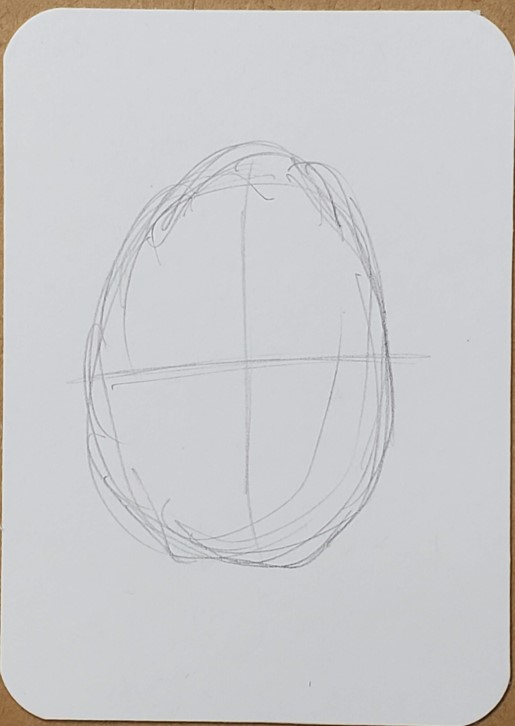
My first rule when drawing anything is to start with some basic shapes and guidelines. This helps with size, placement, and giving you a good starting point. And it eliminates that whole scenario of staring at a blank page.
So start by drawing an oval for the overall shape of the head. This should be sketched out lightly. Then draw a line going roughly down the middle both horizontal and vertical. These lines help with placement of the facial features.
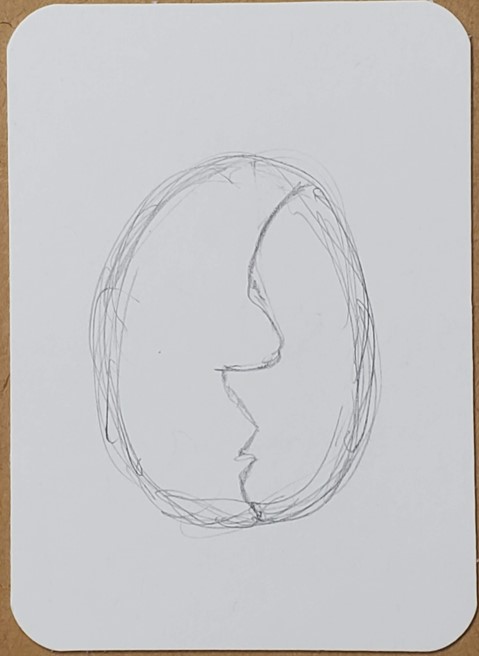
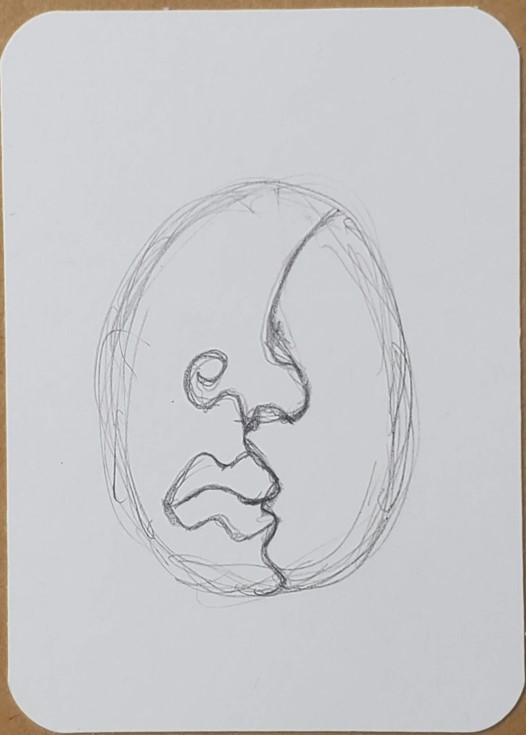
As I mentioned earlier there are a couple of common approaches to drawing a cubism portrait. The first one is to split the face in half with a profile view.
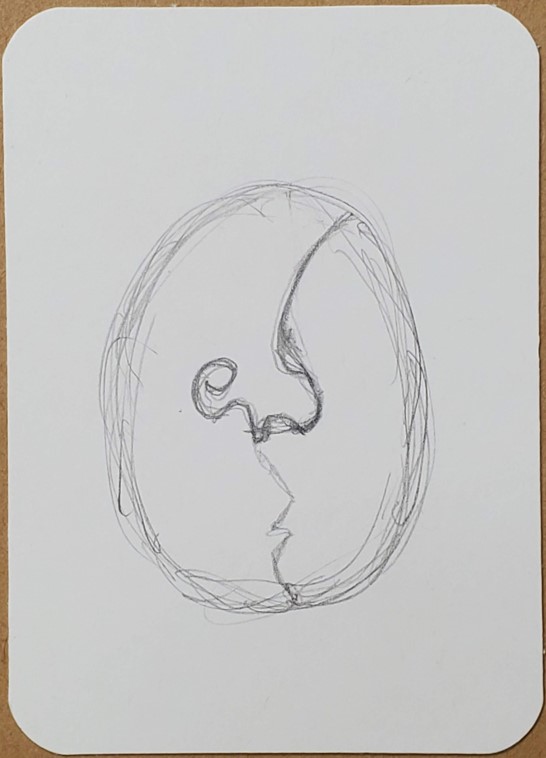
To do this start at the top of your oval shape and draw the forehead, nose, lips, and chin from a side view. Draw lightly because you won’t be using all of these lines exactly as they’re drawn now. Some will get used while others will be used as guidelines.
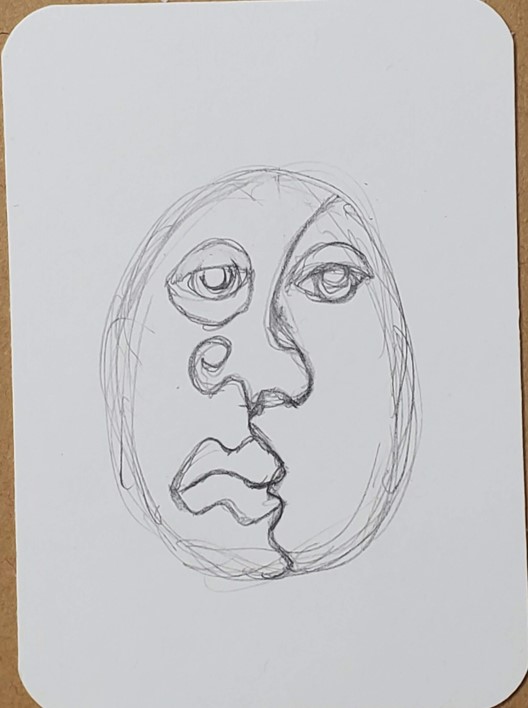
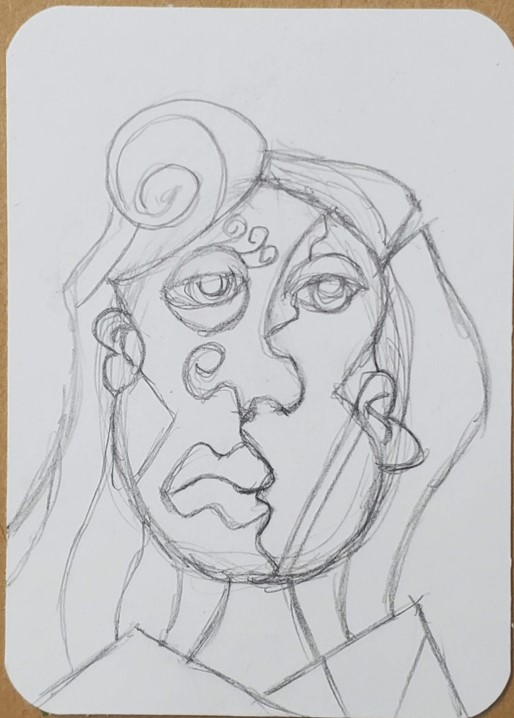
Now start refining your cubism portrait. Again, since it’s an abstract drawing, anything goes. You want it to be recognizable as a face when you’re finished, but other than that you can get as creative as you want with it.
Next, draw the lips. When drawing your portrait you can draw the facial features using a combination of frontal view and side view. You want your portrait to look a but crazy.
Add in a couple of eyes. Have fun with these. You can make one big and one small. Draw one from the front and one from the side. You can draw one of your eyes at an angle and one straight. Or you could put one eye in a completely random location.
Now draw out the shape of your face, and add a couple of ears.
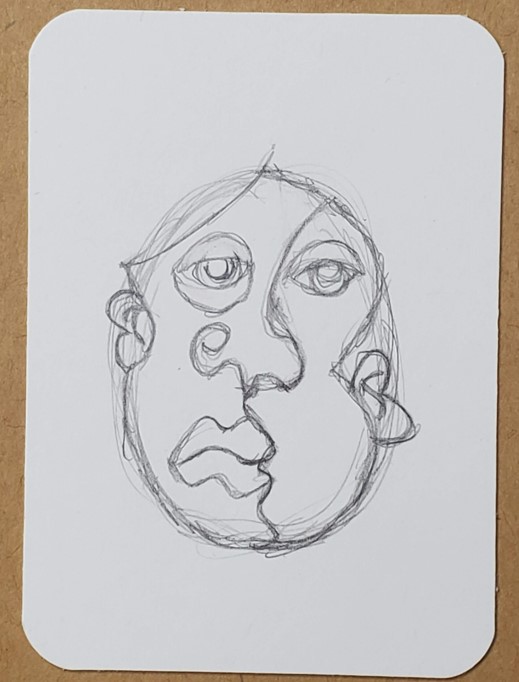
Then draw some shoulders, a shirt, and the hair.
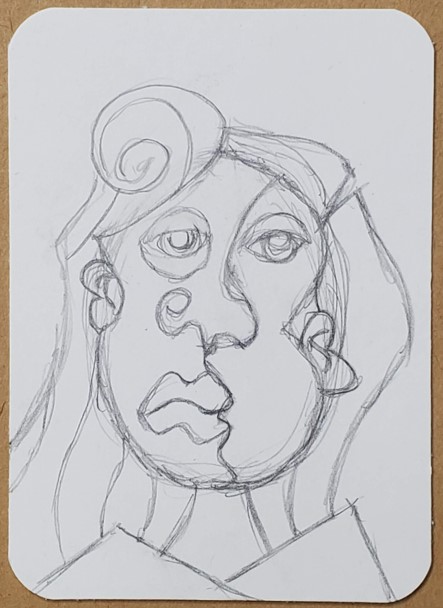
Finish up your cubism portrait drawing by adding in some extra lines, curls, and any additional accents you think are fun. This step is optional, but it really does make the drawing more interesting and abstract.
Cubism Portrait Outline
Go over your rough drawing with a black pen or marker. You can make your drawing look more interesting by using both thick and thin lines.
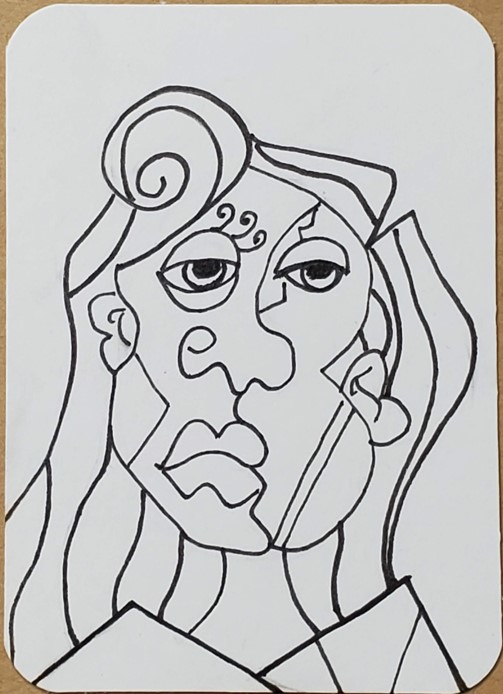
You could also experiment with different ways to outline your drawings. Do whatever you think looks good, or whatever ideas you have for your own drawing.
These are the types of details that help show your artistic style. Don’t be afraid to come up with your own ideas, and then try them.
Color with Markers
I’m using markers today, but you can use whatever you prefer. Regardless of what medium you choose, try using more than one color for each area of your drawing to make it look less flat.
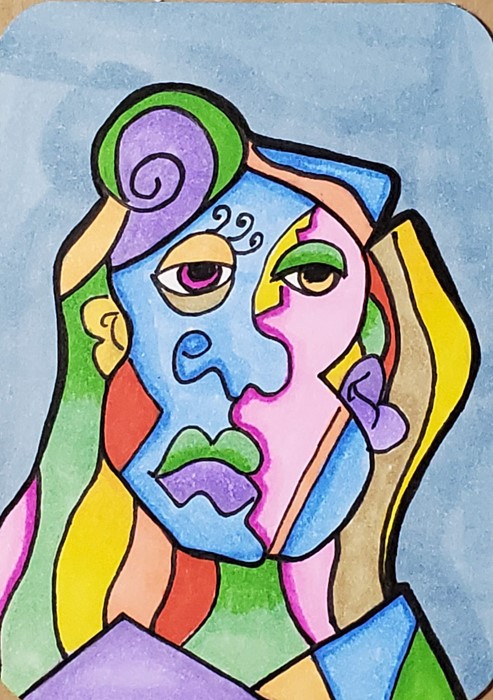
This will help with the overall look of your artwork. However, with your cubism portrait drawing this is less of a concern since it’s abstract. You can try both ways and see which you prefer for this type of drawing.
Style 2 – Geometric Shapes
Now let’s look at the other common technique for drawing a cubism portrait. This time we are going to break up the face into geometric shapes.
You can use any shape you want. Choose a shape for the eyes, nose, and mouth.
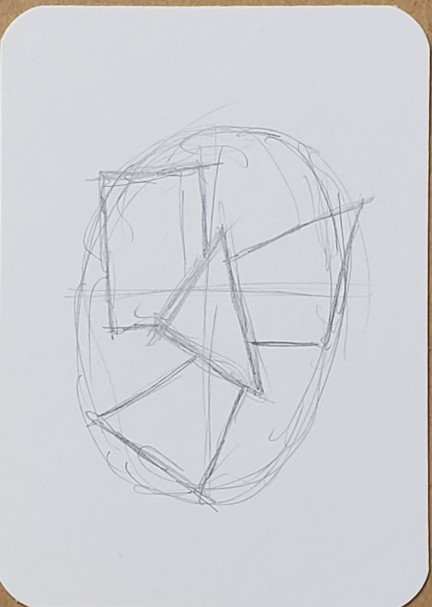
Then, inside each of those shapes, draw your facial features. Again using a combination of frontal view and side view.
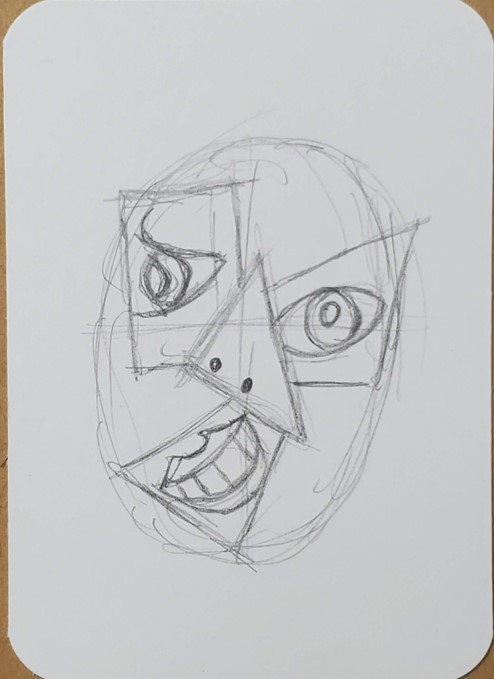
I went a bit simpler with my nose in this drawing and just used a couple of dots. And then for the mouth I drew it open with the teeth showing.
The reason drawing a cubism portrait is so fun is that you really can’t screw it up. Pretty much anything goes with your drawing. As mentioned earlier, the only rule is that it should be recognizable as a face.
But then again, it’s your drawing so who am I to give you rules to follow. As artists, we like to break the rules.
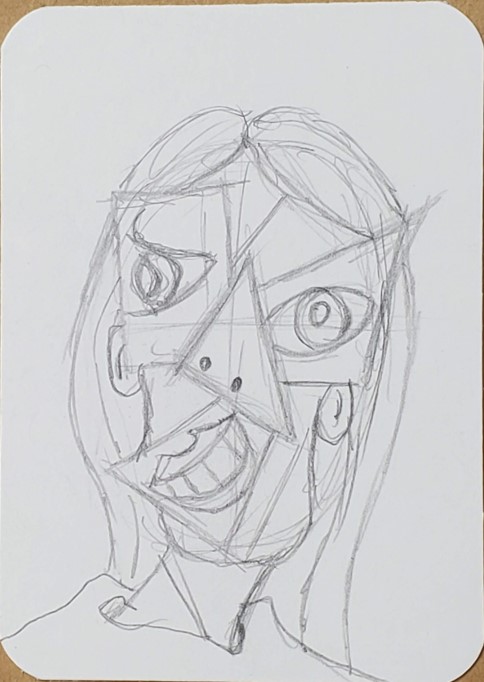
Continue working on your drawing by finishing up all of the facial features and anything extra that needs to go on your drawing.
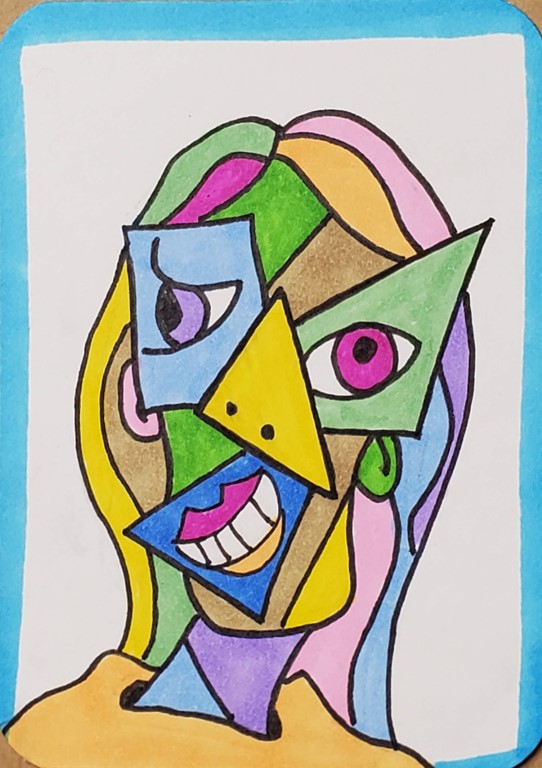
Then add your outline and add in some color.
How to Improve Your art
If you want to get better at drawing you need to practice on a consistent basis. You’ll improve quicker if you draw for a few minutes every day, compared to trying to draw for several hours.
The reality is that most of us don’t have several hours a day, or even a week, to dedicate to creating art. But most of us do have ten to twenty minutes during each day that we could find time to work on our artwork.
If you can create a daily habit of creating art, you’ll see huge improvements in your art skills in no time.
Read this article on how to save time by using artist trading cards. They changed my life.
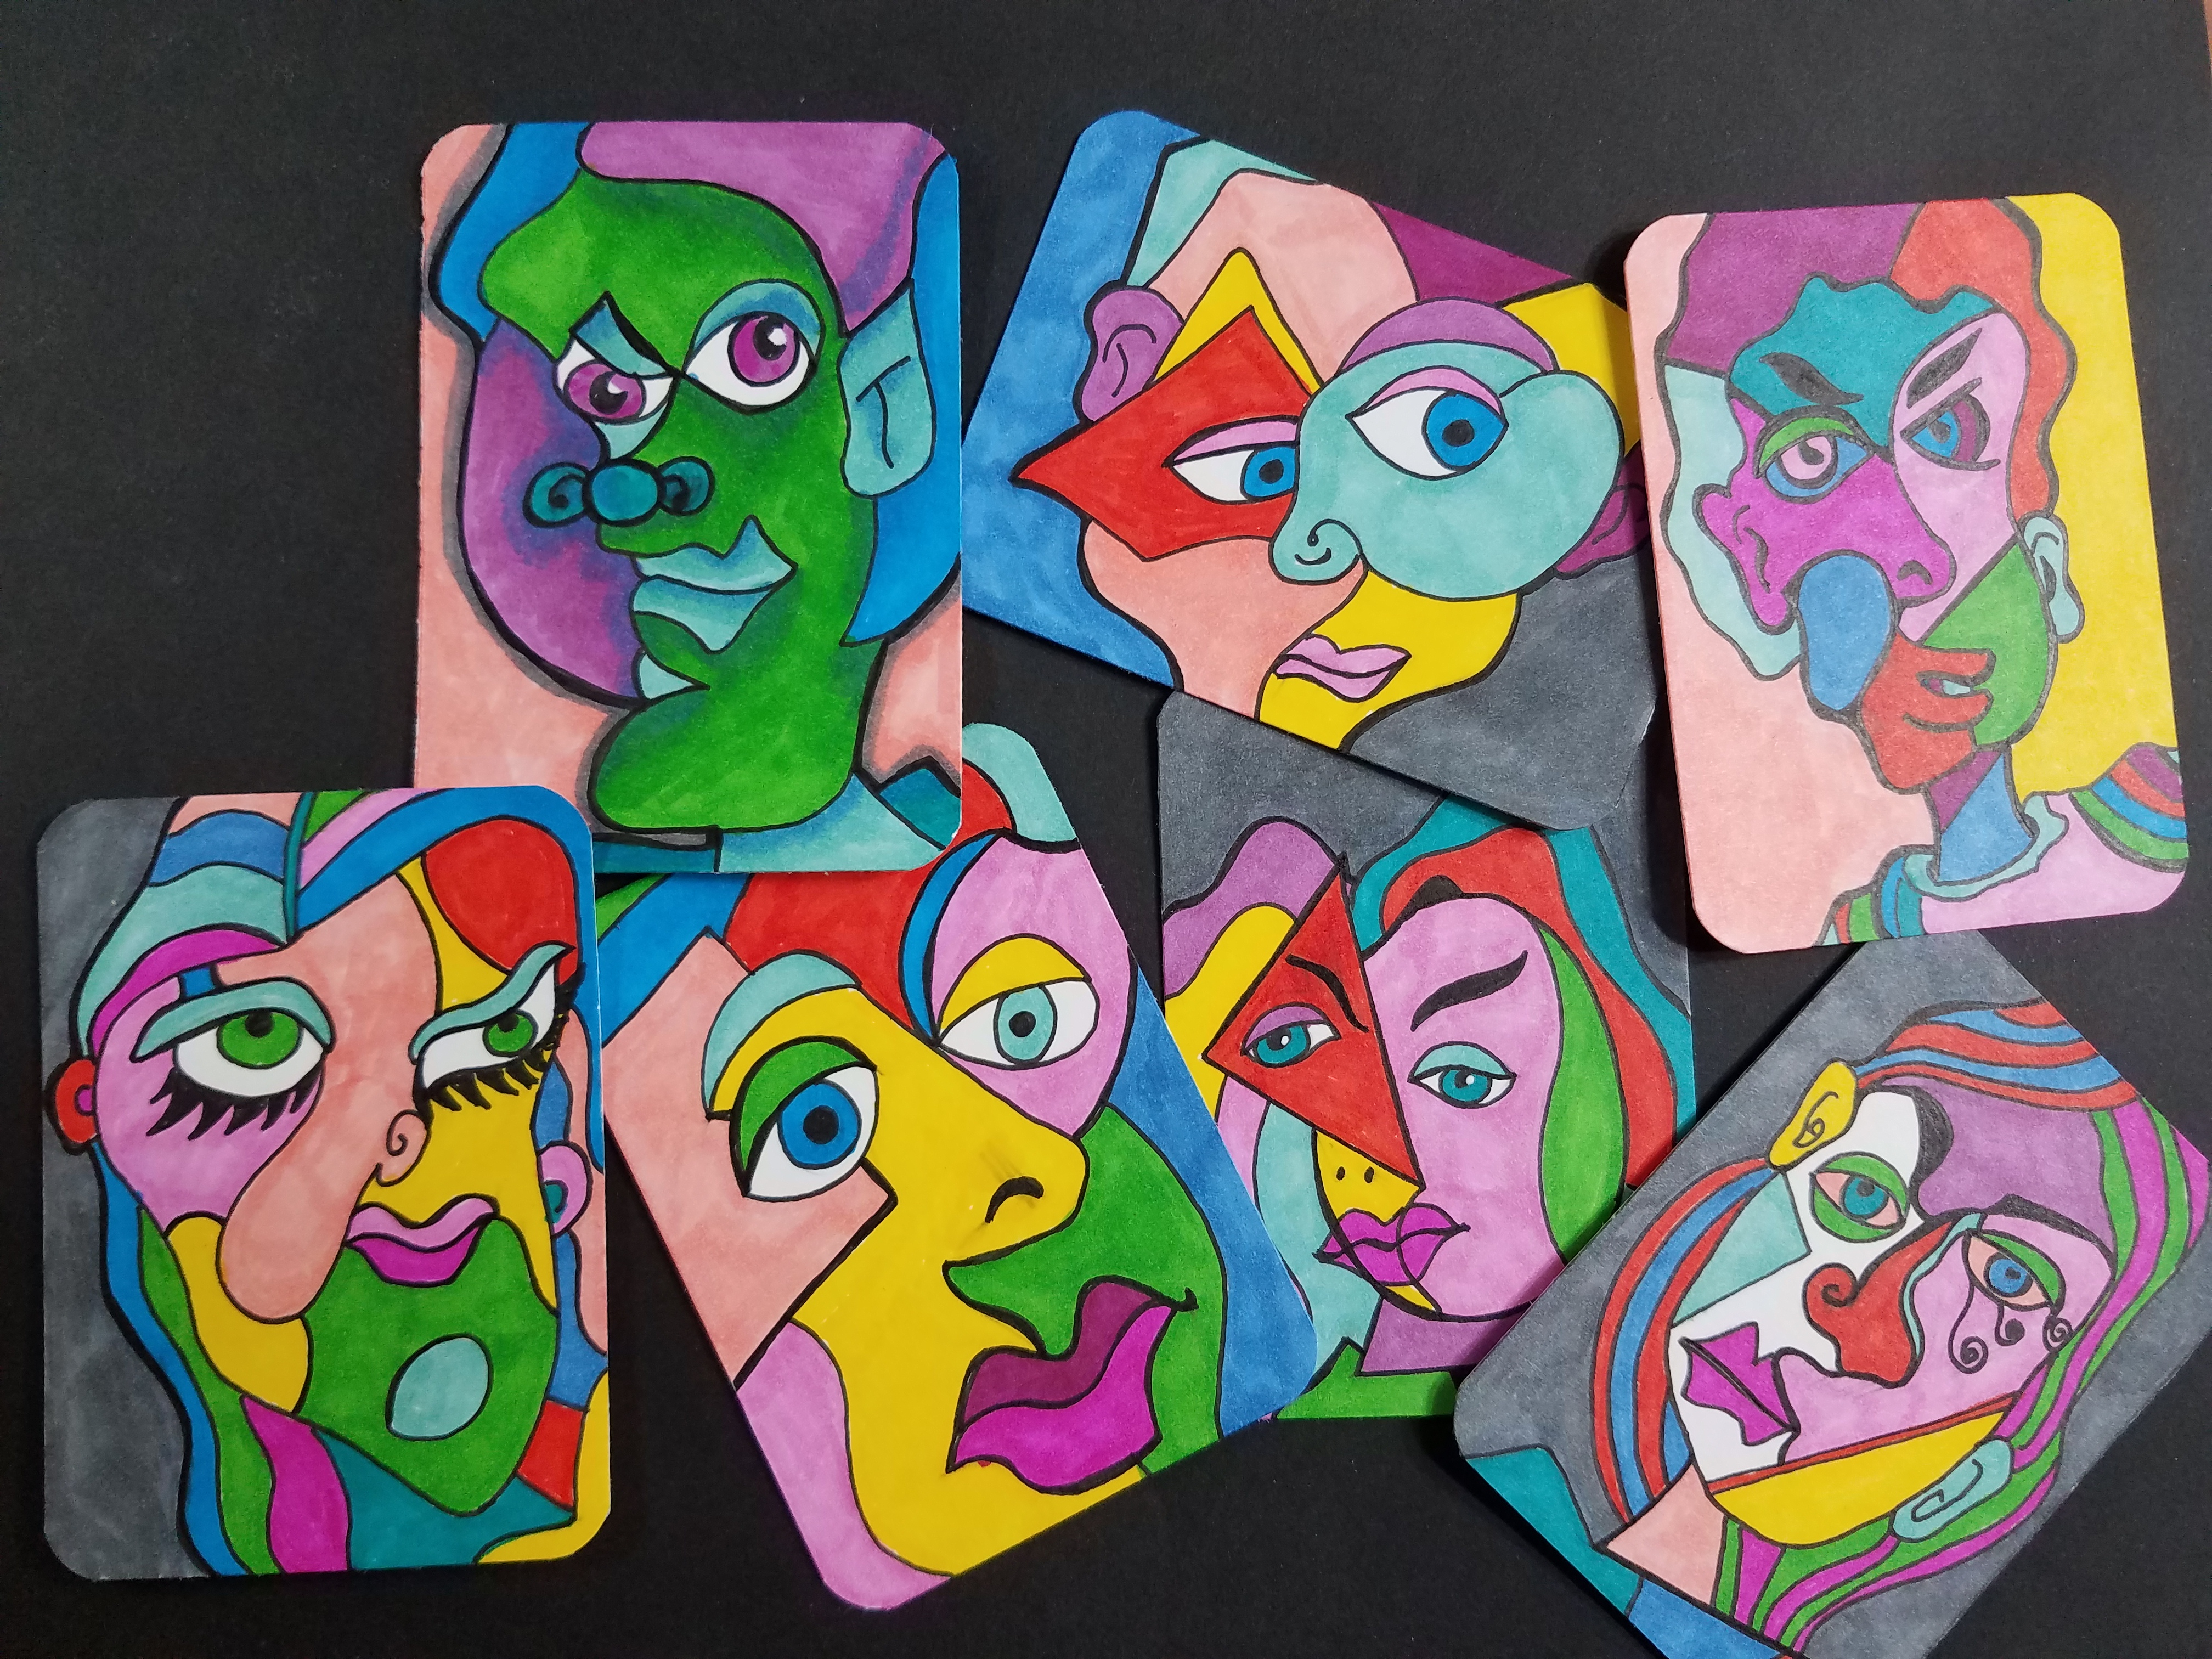
Cubism Portrait | Easy Art Tutorial
I hope you enjoyed drawing a cubism portrait as much as I do. These are a great way to work on drawing portraits without the pressure of everything needing to be perfect.
If you worked on doing several cubism portraits you’d get plenty of practice drawing eyes, noses, mouths, and everything else that goes into drawing a face.
Download our Free guide to learn How to Make Better Art in 7 Days
If you love drawing and creating art, keep practicing and don’t give up. Life is too short to skip out on the things we enjoy doing.
More Fun Art Tutorials
- Polar Bear Step by Step
- Whimsical Houses – Art Tutorial
- How to Draw Sugar Skulls
- Step by Step Cubism Christmas Tree
- Learn to Draw Gnomes

